Getting Started
Welcome to Cocoon Shell! Cocoon is a home screen for your retro games. It’s a launcher that keeps all your games organized in one place and lets you jump into any of them with a single button press.
Cocoon doesn’t play games on its own. It works with the emulator apps you already have installed, like RetroArch, DuckStation, PPSSPP, or any other Android emulator. It just makes finding and launching your games way more enjoyable.
What You’ll Need
Before you begin, make sure you have:
- An Android device running Android 10 or newer
- At least one emulator app installed (RetroArch is a great starting point)
- Your game files (ROMs) stored somewhere on your device or SD card
- Cocoon Shell installed. Grab it from the Downloads page
First-Time Setup
When you open Cocoon for the first time, a setup wizard walks you through everything step by step. There’s an animated mascot that guides you with speech bubbles and a progress bar across the top. It takes about 5 minutes.
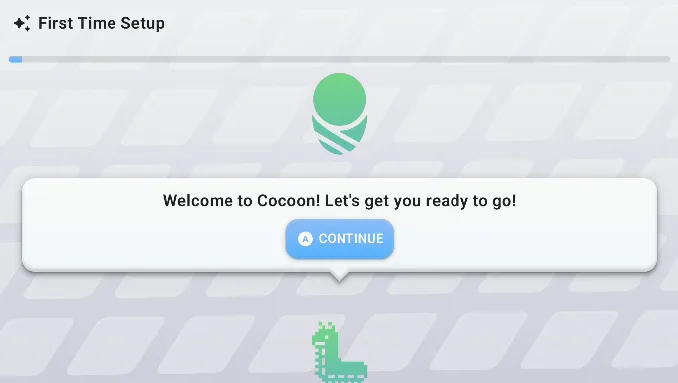
Step 1: Welcome
The mascot greets you and lets you know it’s time to get set up. Just press A (or tap Continue) to begin!
Step 2: Set as Default Launcher
For the best experience (especially on dual-screen handhelds), Cocoon recommends that you set it as your device’s default home launcher. The setup opens your Android home settings for you, just pick Cocoon from the list.
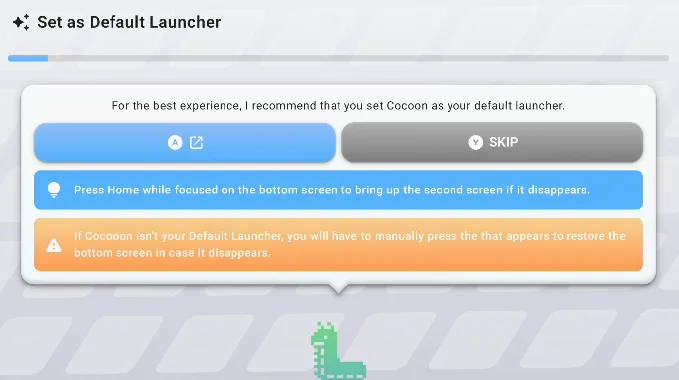
This is optional. Press Y to skip if you’d rather not make Cocoon your default yet. You can always change this later in Android settings.
Dual-screen tip: If Cocoon is your default launcher, pressing the Home button will restore the second screen if it ever disappears. Otherwise, you’ll need to press a floating button that appears.
Step 3: Usage Stats Permission
Cocoon asks for Usage Stats permission so it can track how long you play each game and detect when games close. This is what makes play time tracking and Discord status clearing work.
Press A to open the permission screen, find Cocoon in the list, and toggle it on. Then come back and Cocoon will detect it automatically.
This is optional too (press Y to skip), but without it you won’t get play time stats.
Step 4: Data Directory
Time to pick where Cocoon stores its downloaded artwork, logs, and other data. Press A to open the folder picker and navigate to where you want Cocoon’s data to live. Something like a “Cocoon” folder on your device works great.
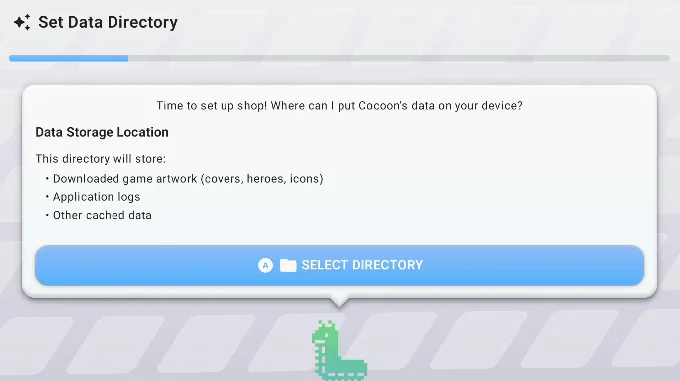
Don’t overthink this, just pick a spot with some free space (a few hundred MB is plenty to start).
Step 5: Restore a Previous Backup (if available)
If Cocoon finds a backup from a previous installation, it’ll ask if you want to restore it. This brings back your entire grid layout, folders, and organization from before.
- Press A to restore (the backup date is shown on the button)
- Press Y to skip and start fresh
If this is truly your first time, you won’t see this step. Cocoon will just confirm your directory was set up and move on.
Step 6: Log In to Services
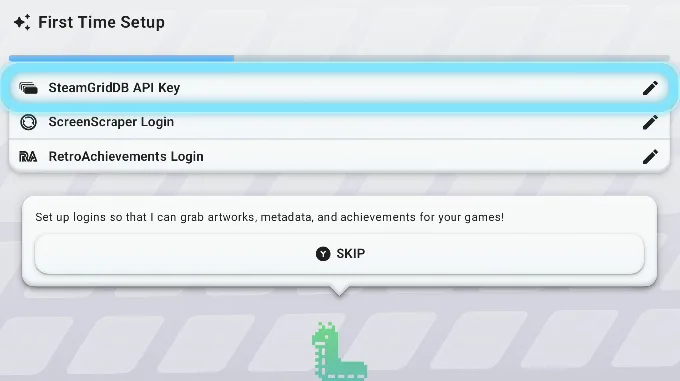
This screen lets you connect three optional services. You’ll see three cards you can tap into:
| Service | What it’s for | What you need |
|---|---|---|
| SteamGridDB | Download box art, logos, and hero images | A free API key from steamgriddb.com |
| ScreenScraper | Download artwork and detailed game info | A free account at screenscraper.fr |
| RetroAchievements | Track retro gaming achievements | A free account + API key from retroachievements.org |
Use D-pad up/down to highlight a service, then press A to enter your details. Each one opens a little dialog where you type in your credentials.
You can skip all of these with Y and add them later in Settings. But we’d recommend setting up at least one art source (SteamGridDB or ScreenScraper) so Cocoon can grab artwork for your games.
Step 7: Download Platform Database
Cocoon needs to download a list of supported gaming platforms and emulators. Press A to start the download. It only takes a few seconds.
This is required before you can import any games.
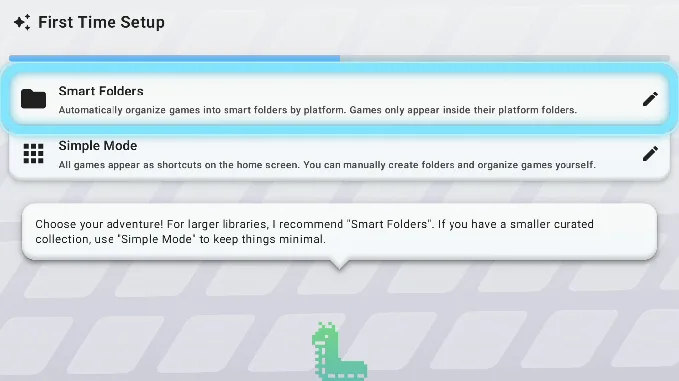
Step 8: Organization Mode
Now pick how you want your game library organized:
| Option | Best for |
|---|---|
| Smart Folders | Larger libraries. Games are automatically sorted into platform folders (one for SNES, one for GBA, etc.). Games only appear inside their folders. |
| Simple Mode | Smaller, curated collections. All games appear directly on your home screen. You create your own folders manually. |
Use D-pad up/down to highlight your choice, then press A to select. You can reorganize later, so don’t stress about this.
Step 9: Storage Permission
Cocoon needs All Files Access so it can hand your ROM files to emulators properly. Without it, some emulators might say “file not found” even though the file is right there.
Press A and Cocoon opens the Android permission screen. Find the toggle for Cocoon and switch it on, then press Back to return. Cocoon will detect the permission and continue automatically.
This step only appears on Android 11 and newer. Older devices skip it entirely.
Step 10: Point to Your ROMs
This is the big one! Press A to open the folder picker and navigate to where your game files live.
Your ROMs should ideally be sorted into folders by system, like this:
My ROMs/
├── snes/
│   └── Super Mario World.sfc
├── gba/
│   └── Pokemon Emerald.gba
├── psx/
│   └── Crash Bandicoot.bin
└── n64/
    └── Mario 64.z64
Cocoon figures out which system each folder belongs to by its name. A folder called snes or gba or psx will automatically map to the right platform.
Tip: Check out the Compatibility page for the full list of folder names Cocoon recognizes.
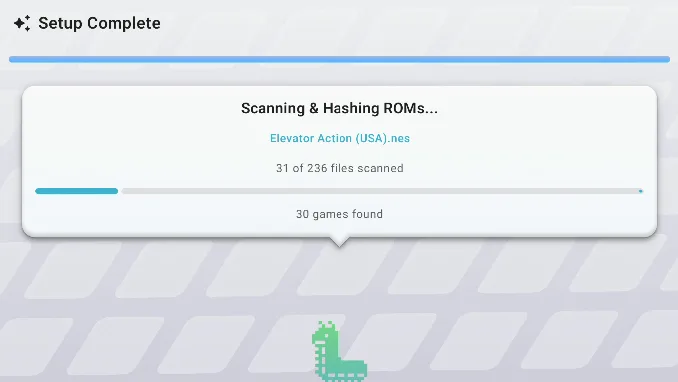
Once you pick a folder, scanning starts automatically. You’ll see a progress bar with the current file and a count of how many games have been found. When it finishes, Cocoon shows a summary like “Imported 247 games from 12 platforms.”
If you don’t have ROMs ready yet, press Y to skip. You can add ROM folders later in Settings → Library & Data.
Step 11: All Done!
That’s it, setup is complete! Press Enter Cocoon and you’ll land on your brand-new home screen with all your games ready to go.
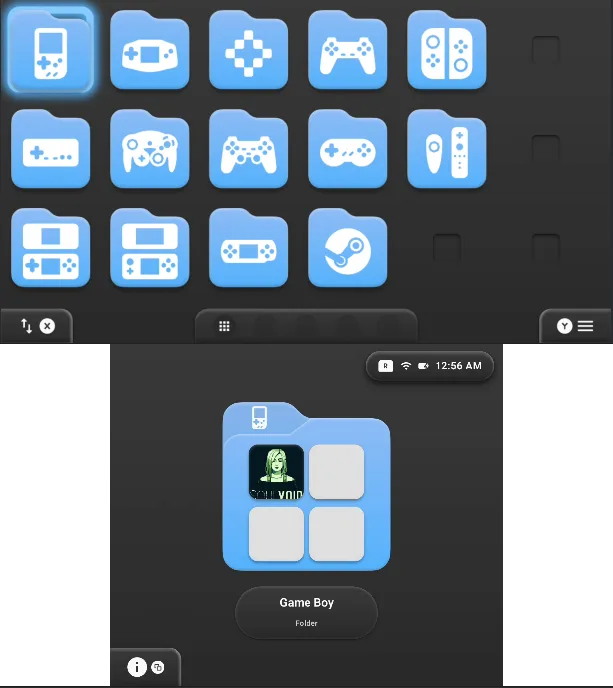
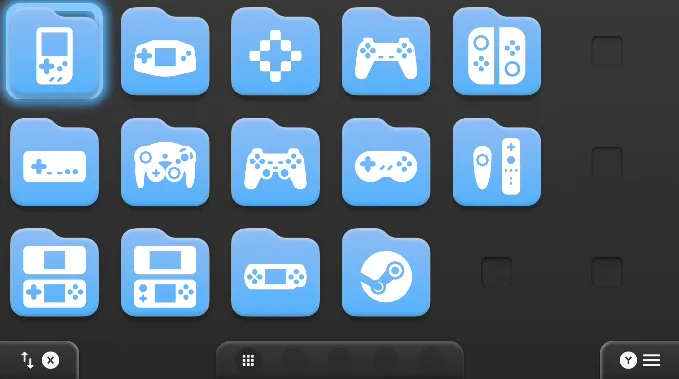
Finding Your Way Around
After setup, you’ll land on the home screen, a grid of your games that you can browse and launch.
Basic Controls
Cocoon is designed to feel great with a gamepad, but touchscreen works fine too:
| What you want to do | Gamepad | Touchscreen |
|---|---|---|
| Move around the grid | D-pad or left stick | Swipe |
| Launch a game | A button | Tap the game |
| Open the menu for a game | Y button | Long press |
| Swap screens (dual-screen devices) | X button | - |
The Status Bar
At the very top of the screen you’ll see two small pills:

- Left pill — Shows your Discord friends who are also using Cocoon. Press L to expand it.
- Right pill — Shows your Wi-Fi, battery level, and current time. Press R to expand it.
The Dock
At the very bottom there’s a row of 5 app shortcuts, the dock:

- The first slot always opens the App Drawer (where you can launch any Android app).
- The other four slots are yours to customize. Navigate down to an empty slot and press A to assign your favorite apps.
See App Drawer & Dock for more details.
What to Do Next
Now that you’re set up, here’s where to go from here:
- Scraping — Download box art, logos, and game info for your whole library.
- Emulator Setup — Make sure each platform is using the right emulator.
- Customization — Make Cocoon yours with themes, wallpapers, and layout tweaks.
- Folders — Organize your games into collections.
- Controller Setup — Dial in your gamepad settings.